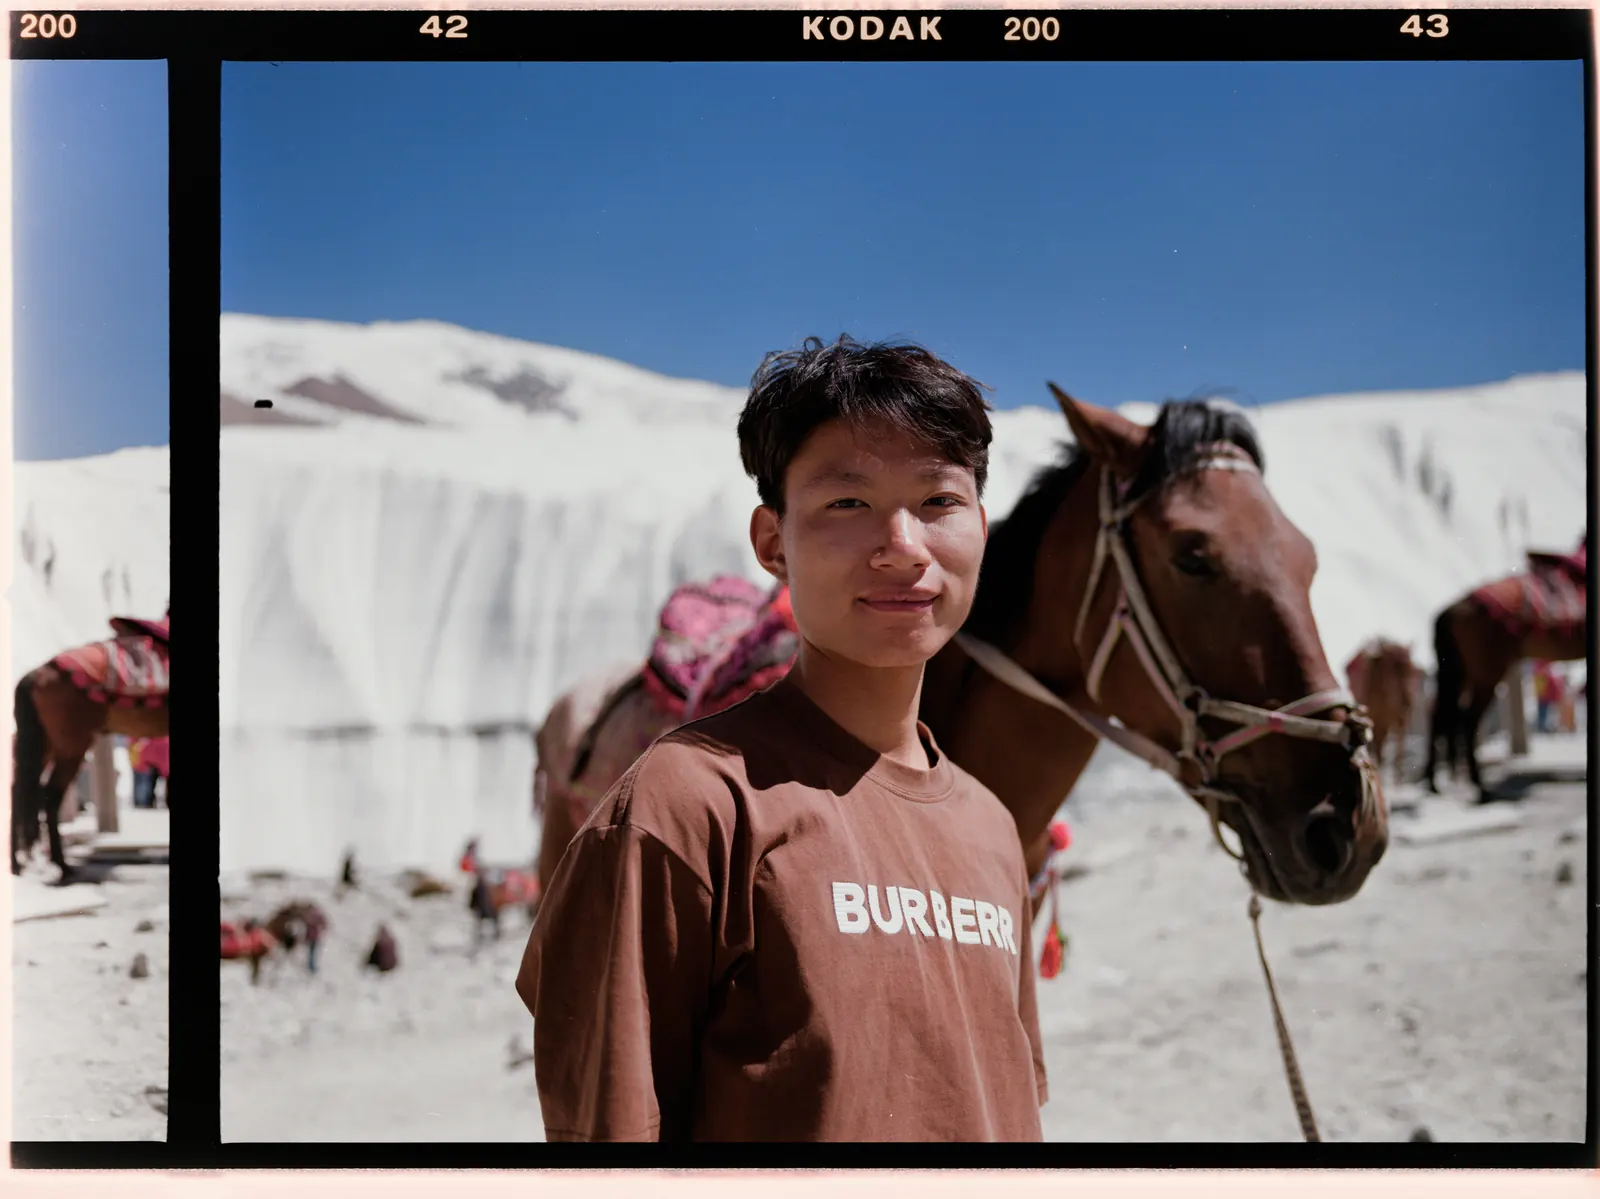
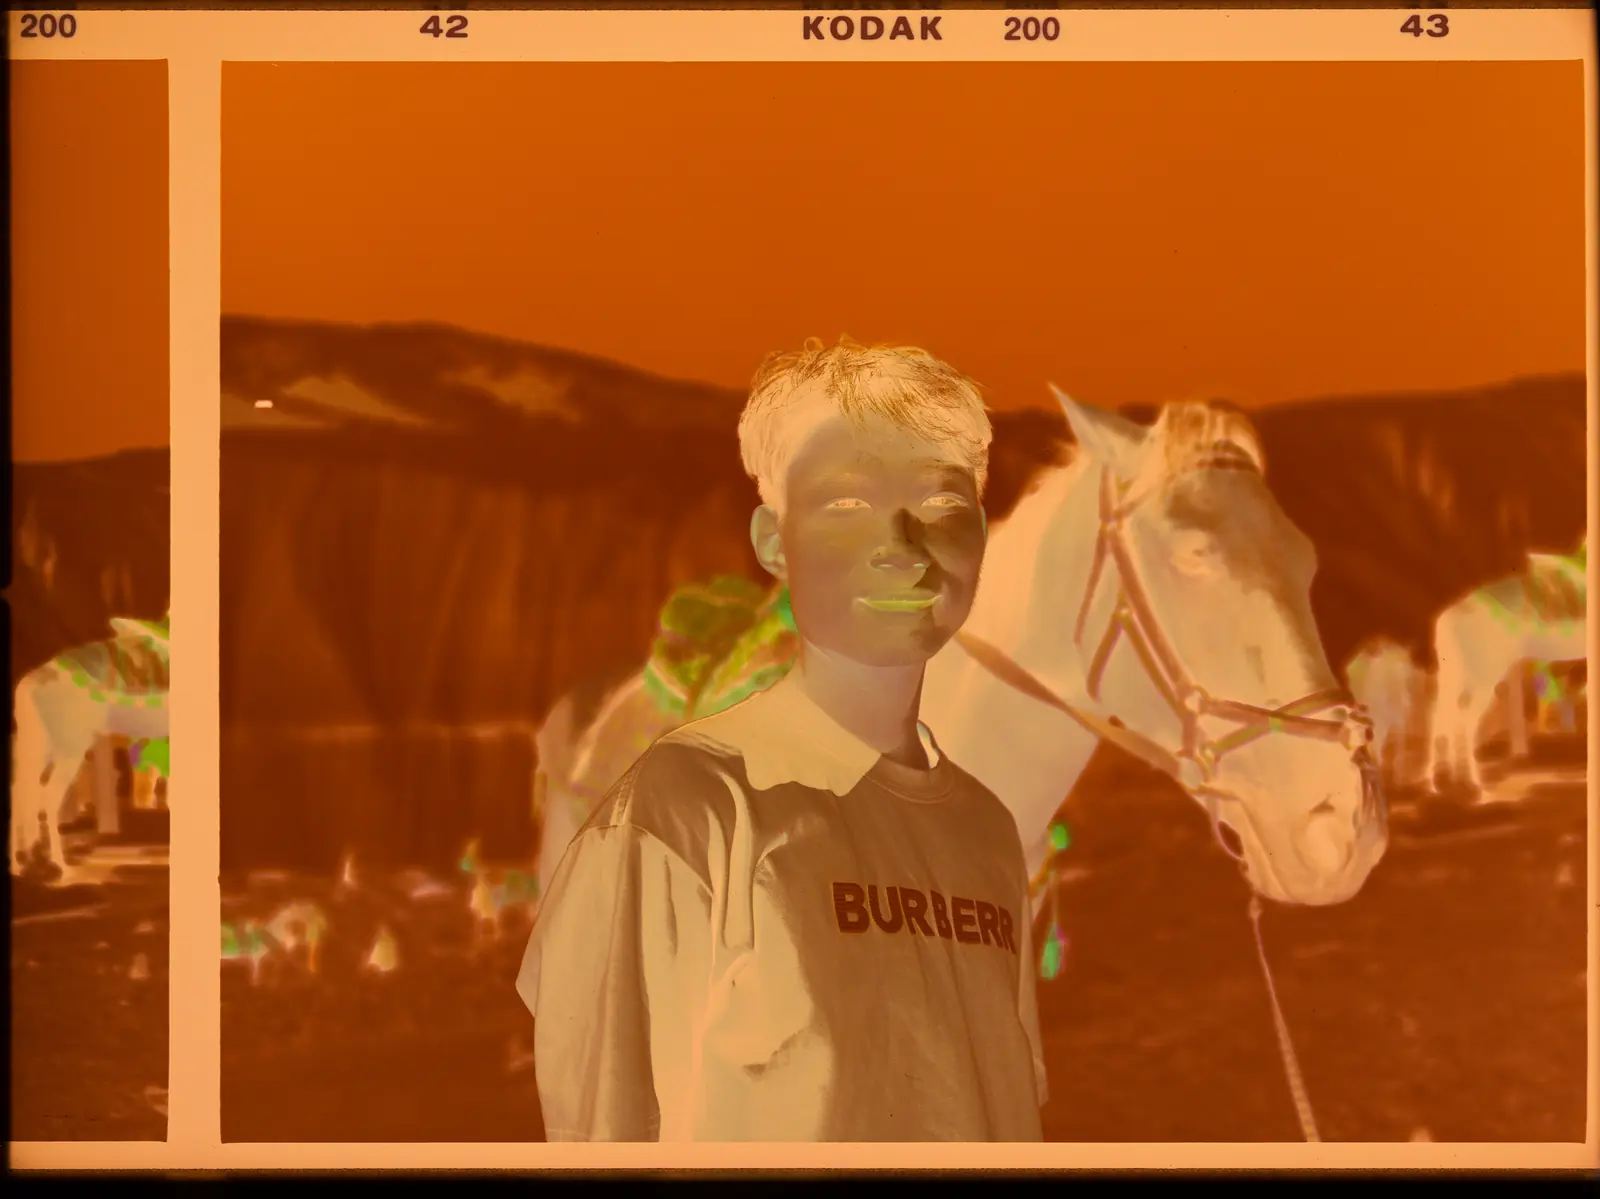
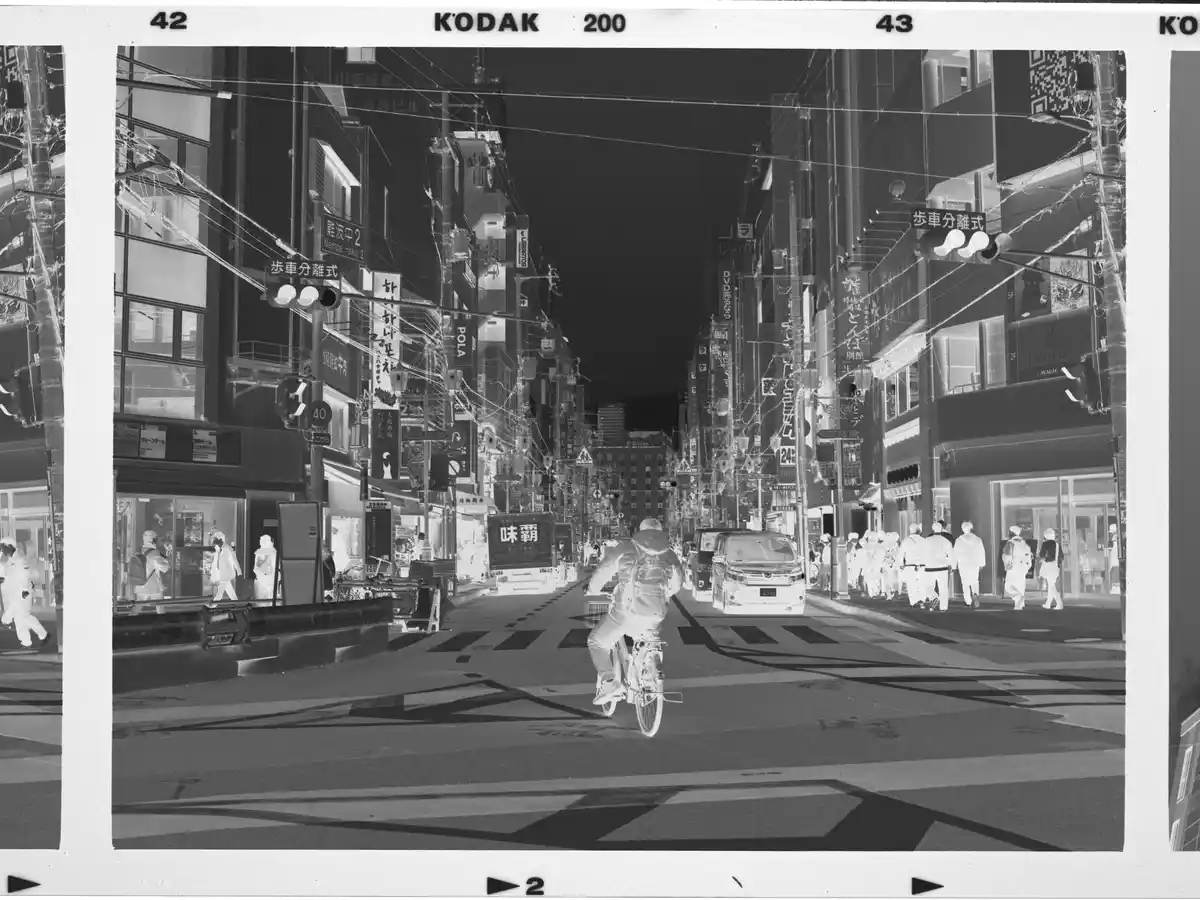
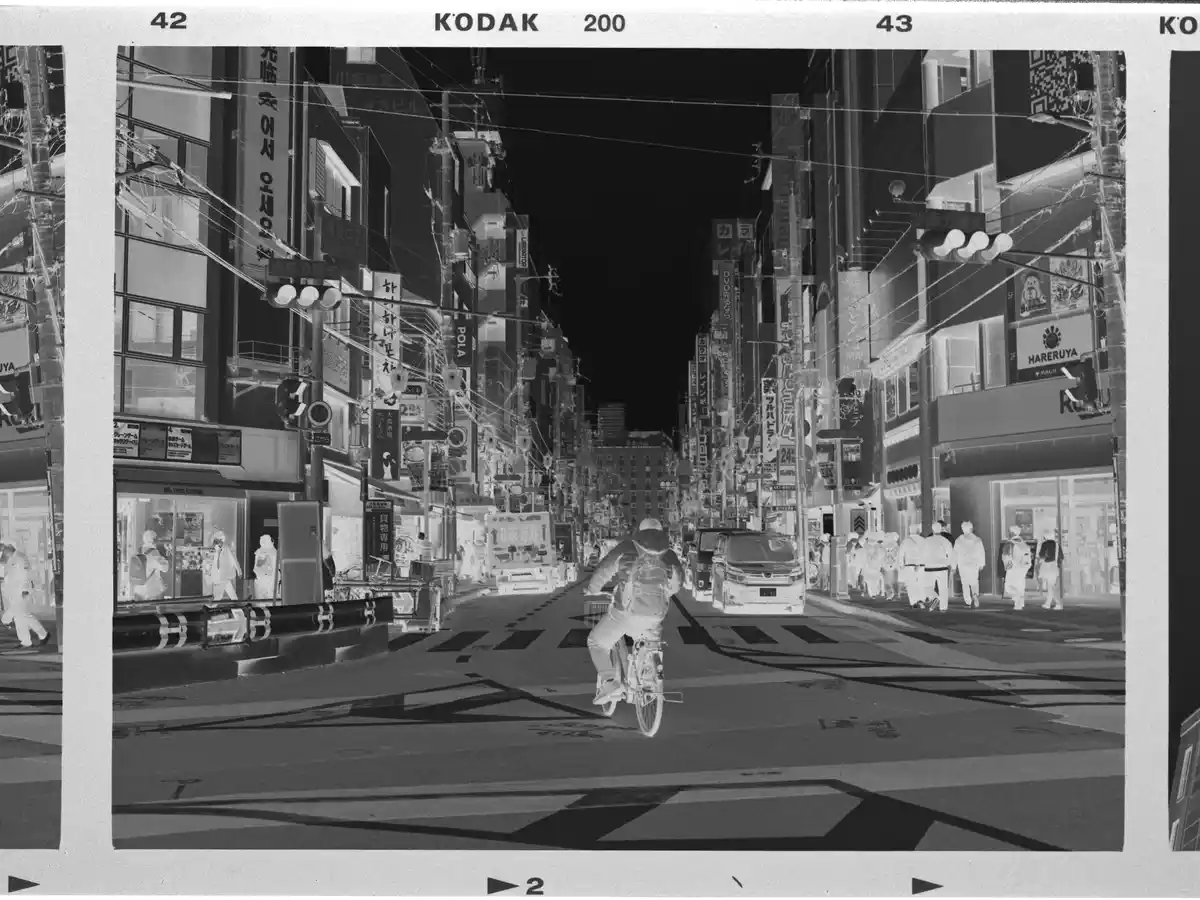
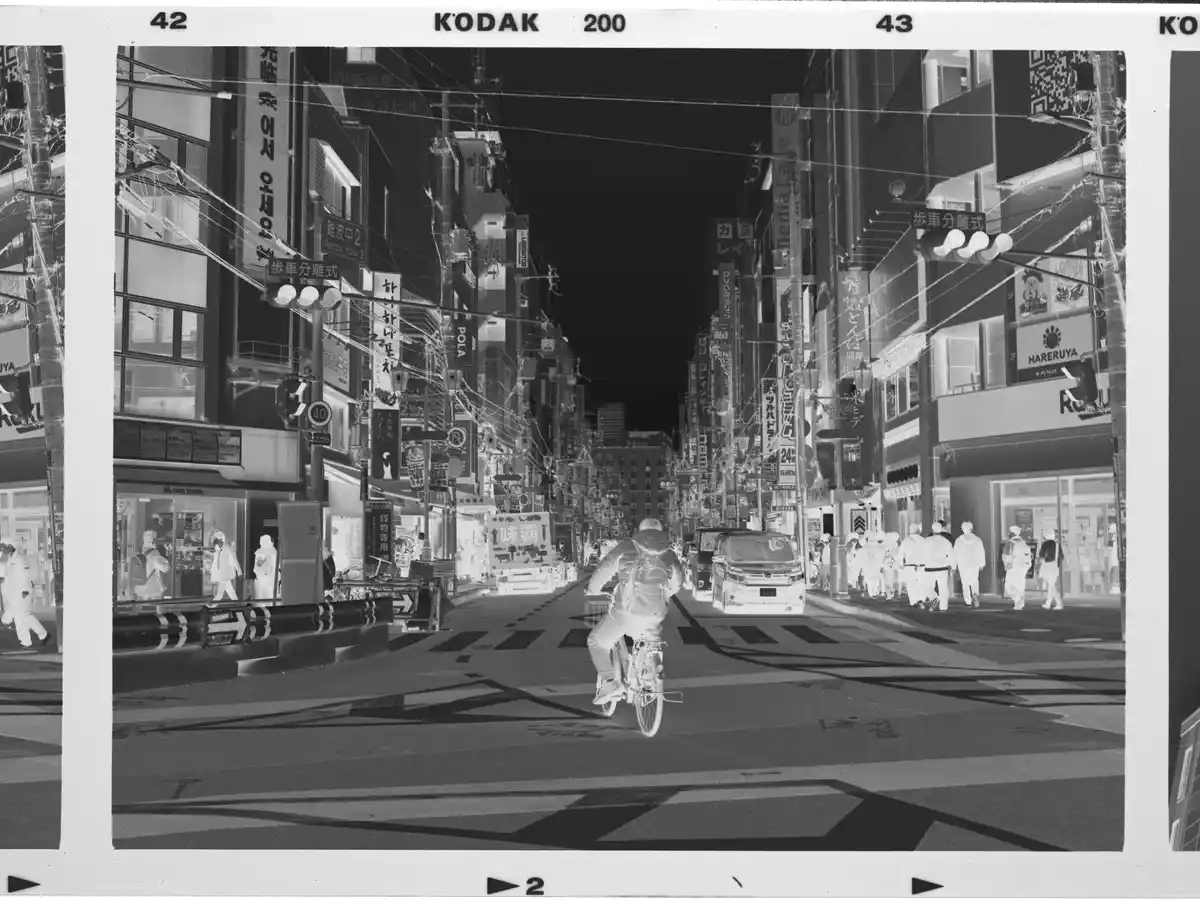
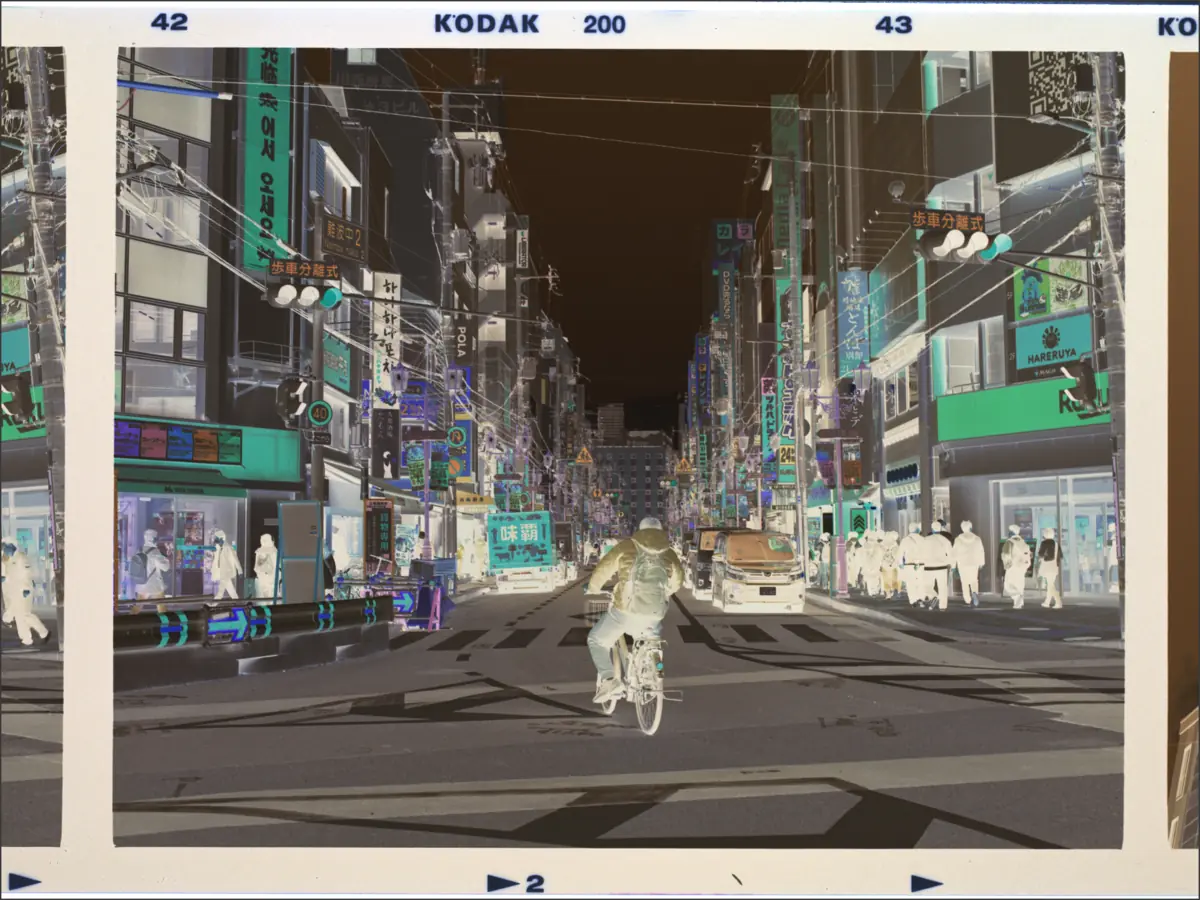
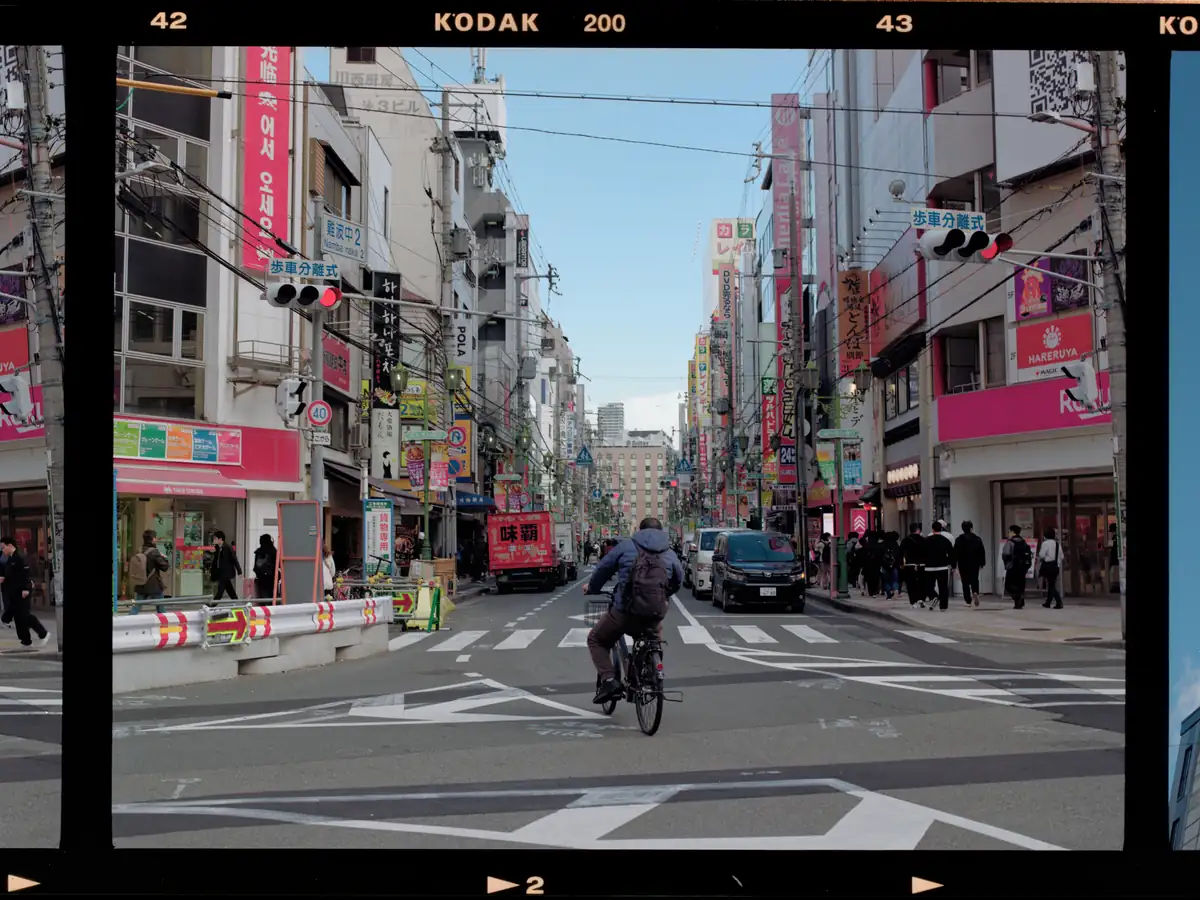
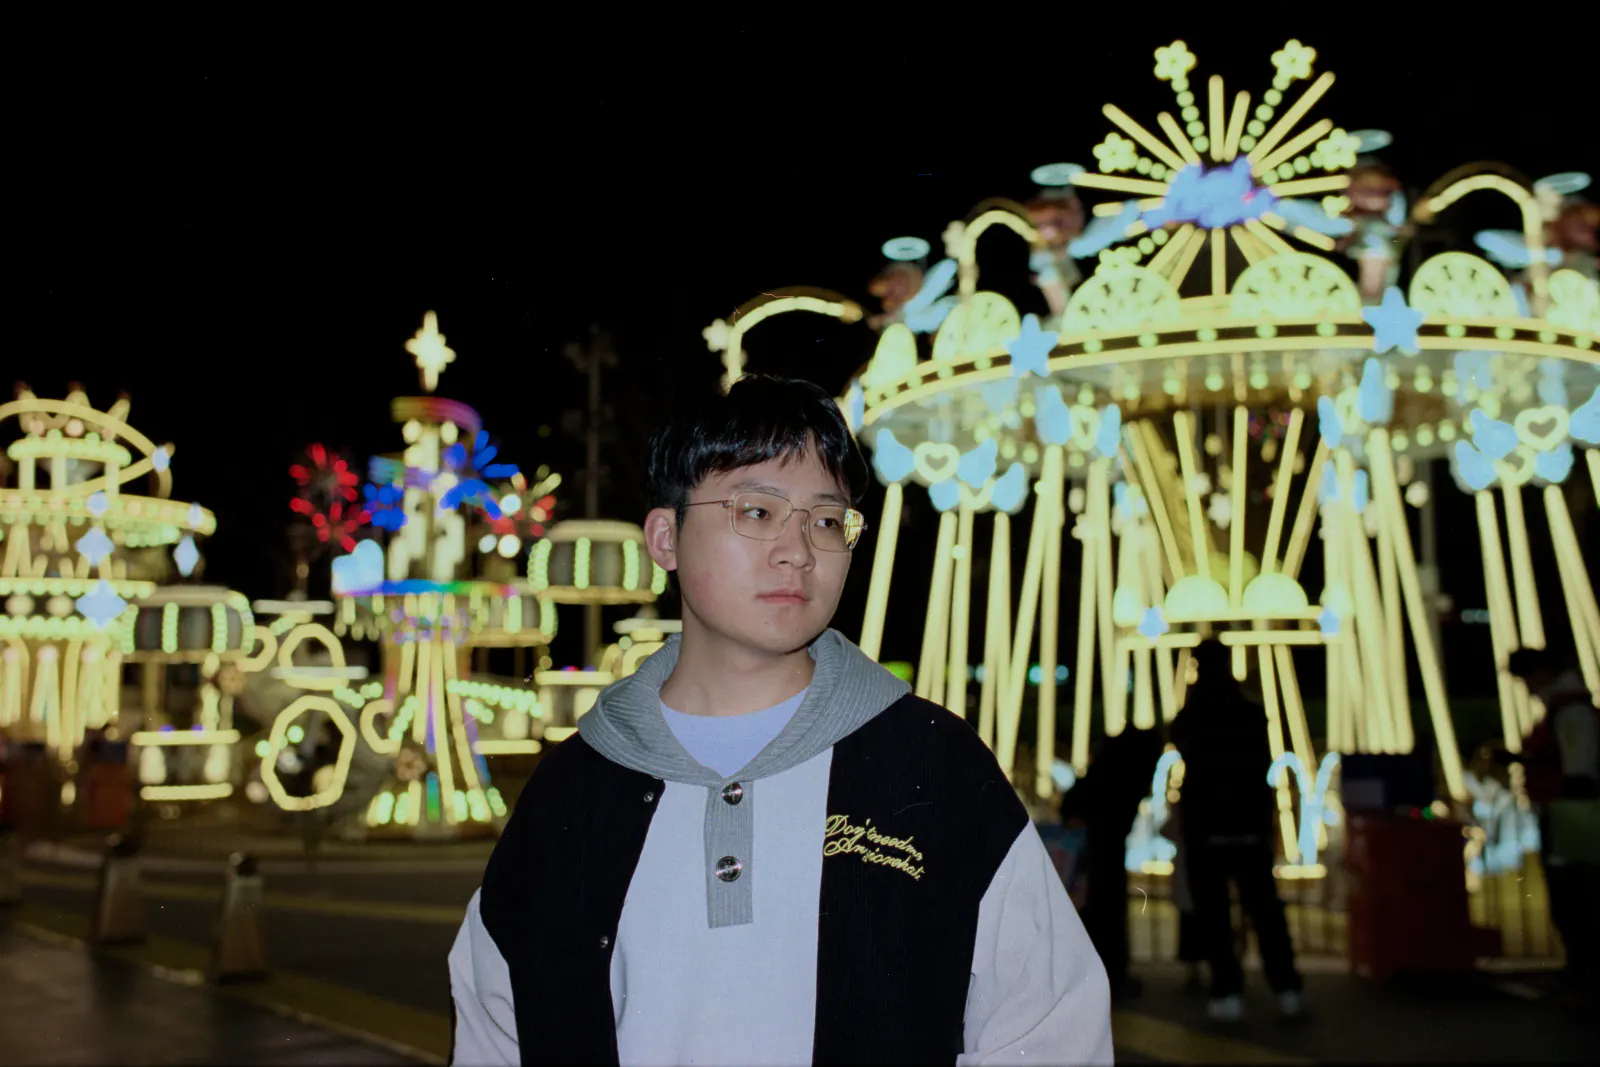
Negative inputConversion result↔The same frame and crop. Drag to compare the negative input with the conversion.
01
Color negatives, B&W,and reversal film.
Import RAW, DNG, TIFF, JPEG, or PNG files from your camera or scanner.
Before importing
For negative conversion, use files that have not already been inverted or demasked. If your scan is already a positive, do not convert it again.
Check your scan or export settings for inversion, curves, or other processing before choosing input settings. A TIFF file is not necessarily unprocessed.
Flat-field correction needs compatible RAW files and reference shots taken with the same capture setup. It is not available for ordinary TIFF, JPEG, or PNG scans.
Analyze and convert a roll together, then refine individual frames. Shared conversion settings make consistency easier and save you from repeating the same setup for every photograph.
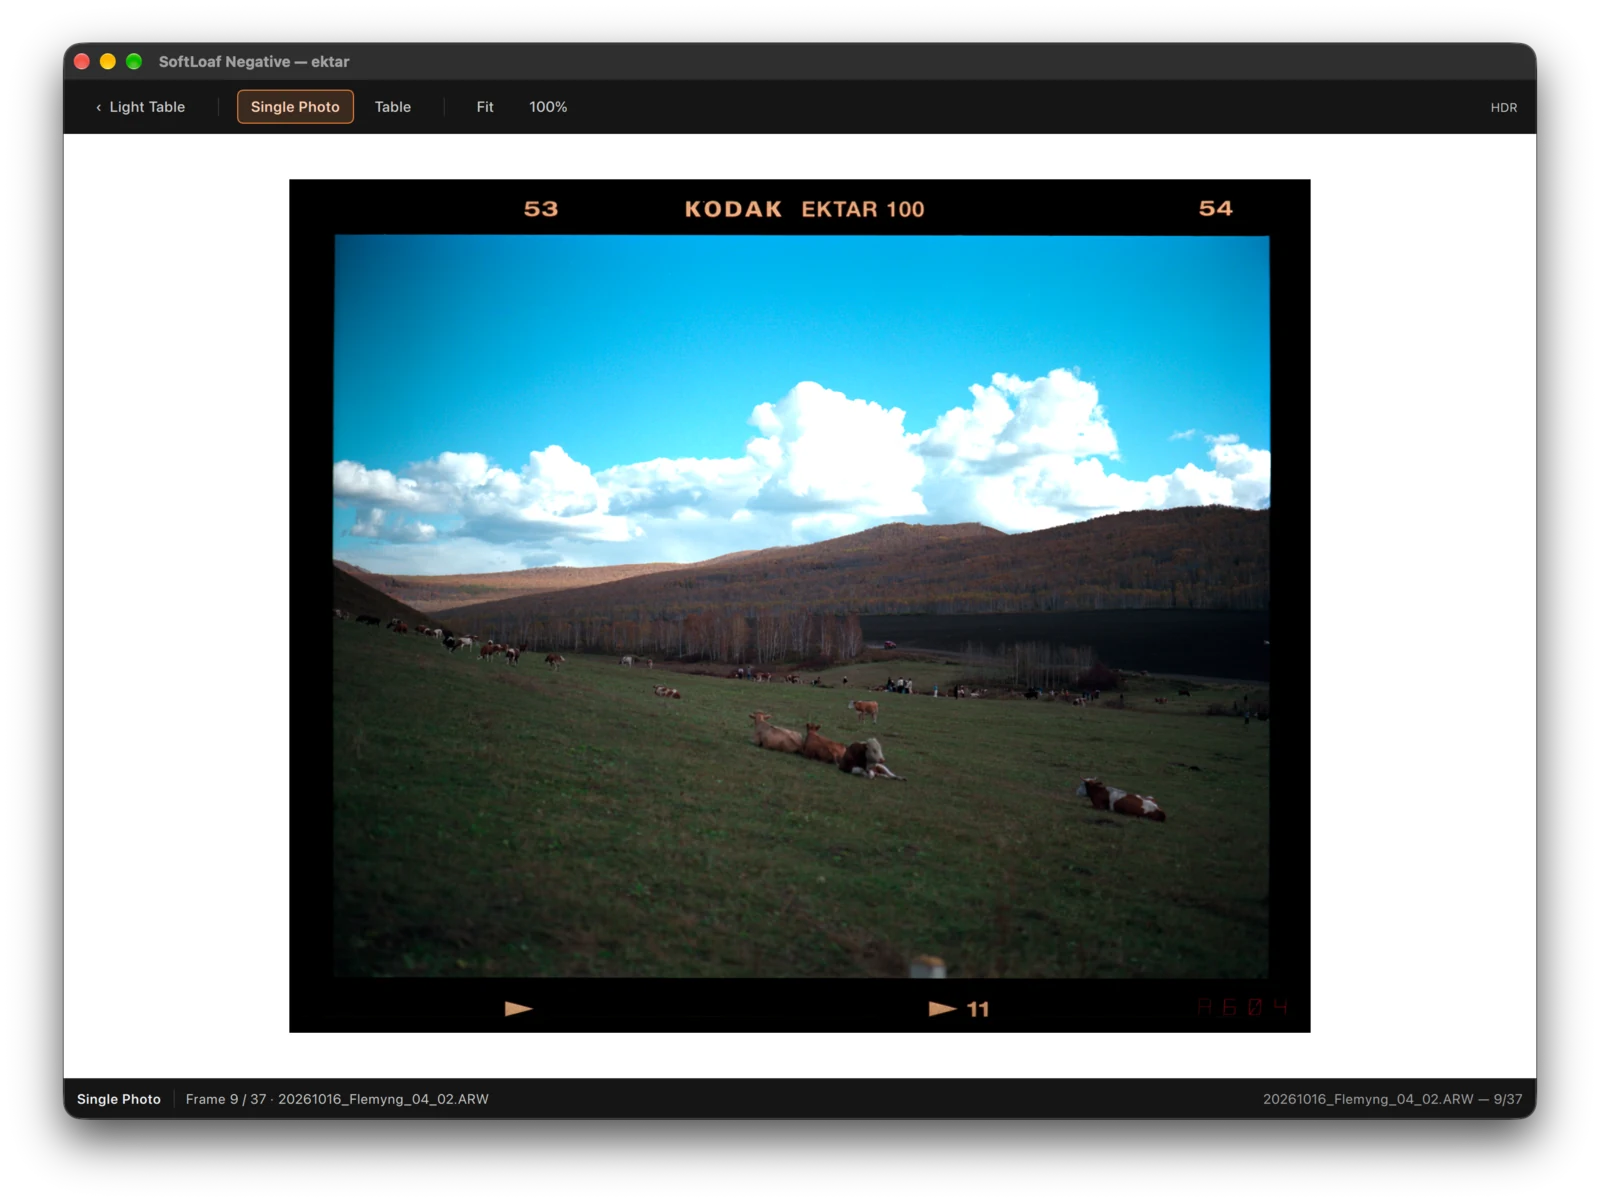
Start with dmin+dmax, a classic, reliable method for everyday roll conversion. Curve can produce a more pleasing balance of tone and color, though it may alter the original relationships between the film’s characteristic curves. Color Chart is also available when the roll includes a chart photograph.
We recommend one project per roll. When combining rolls, use photographs with similar film, development, and capture conditions.
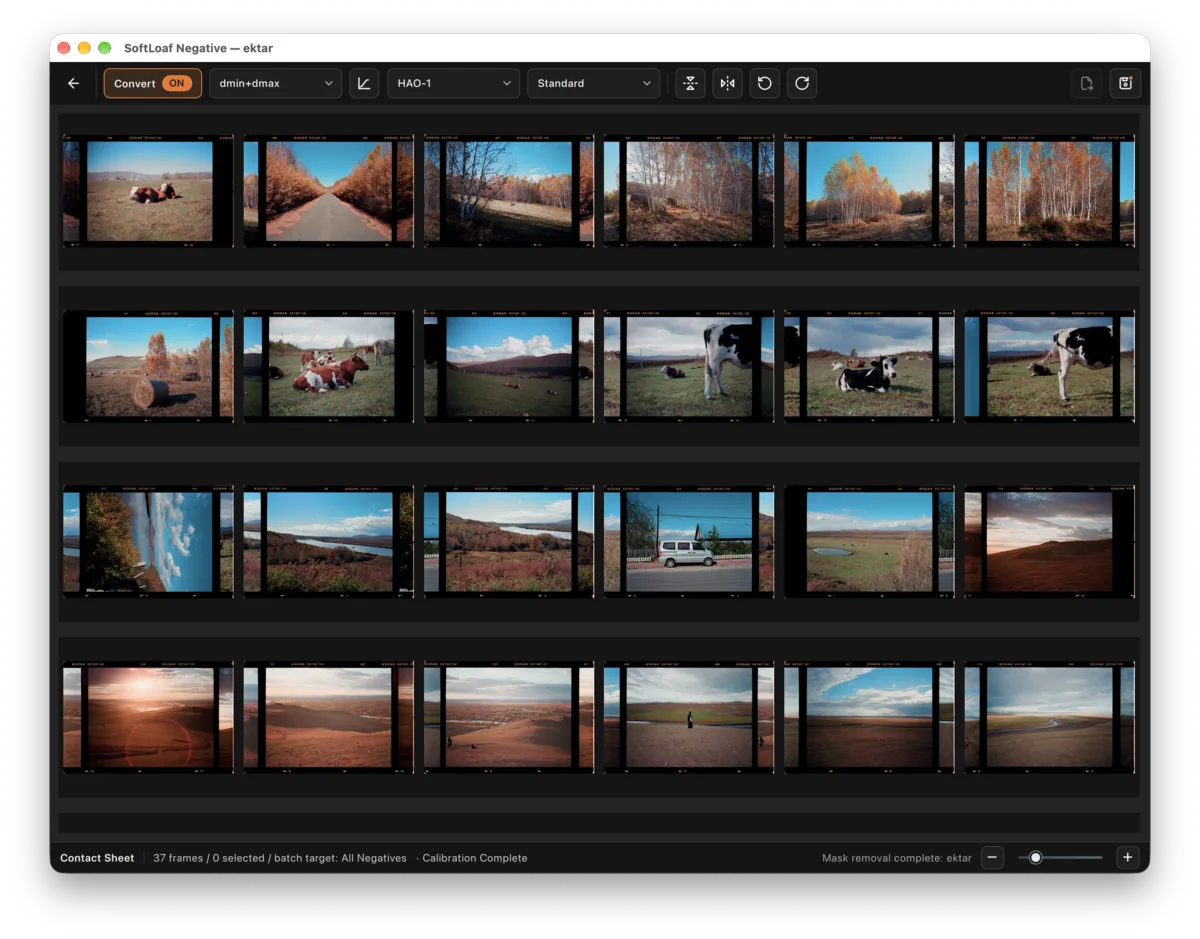
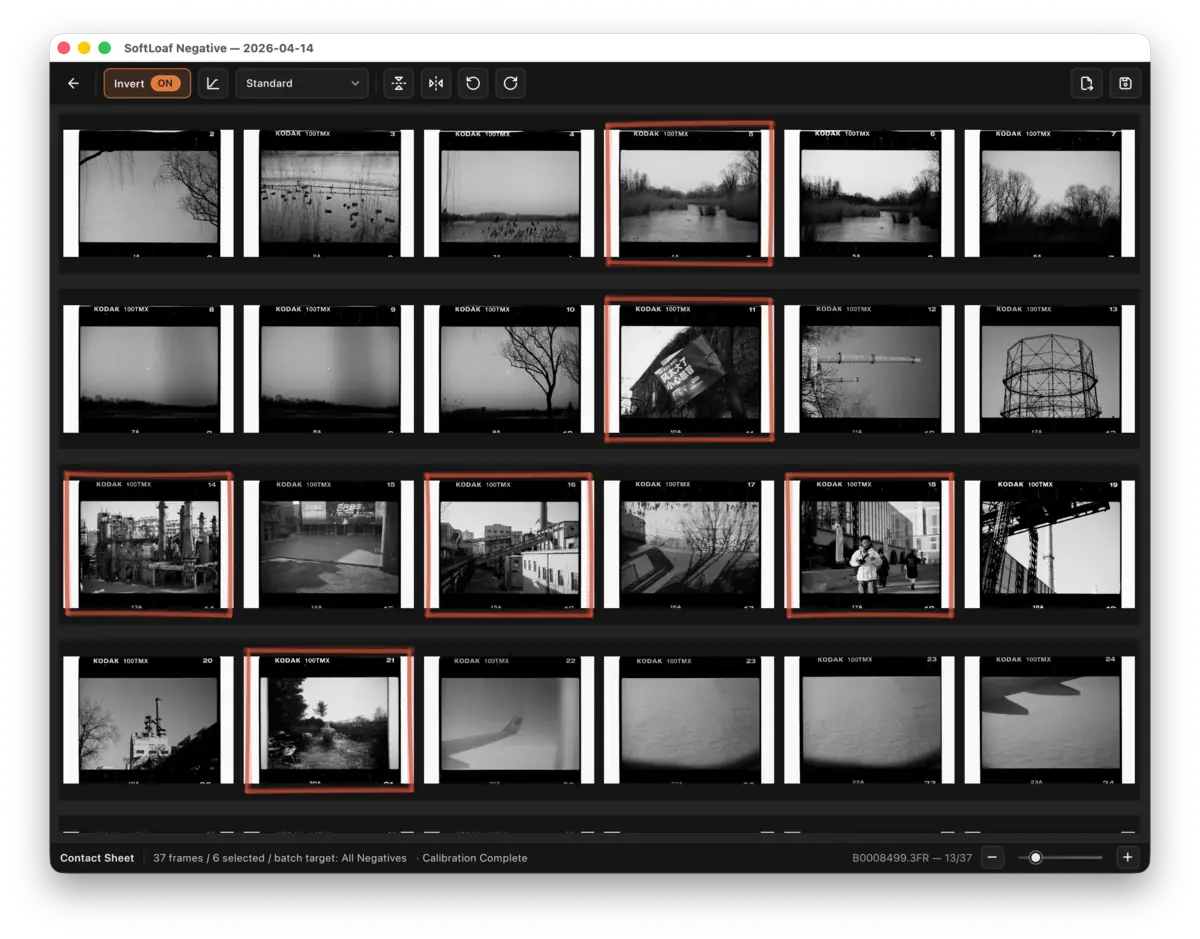
A converted Ektar roll in the Contact Sheet, using the dmin+dmax roll-conversion method.
Black-and-white negatives
Dedicated B&W processing gives you control over brightness, contrast, and grayscale tones, with the same convenient roll browsing and batch adjustments.
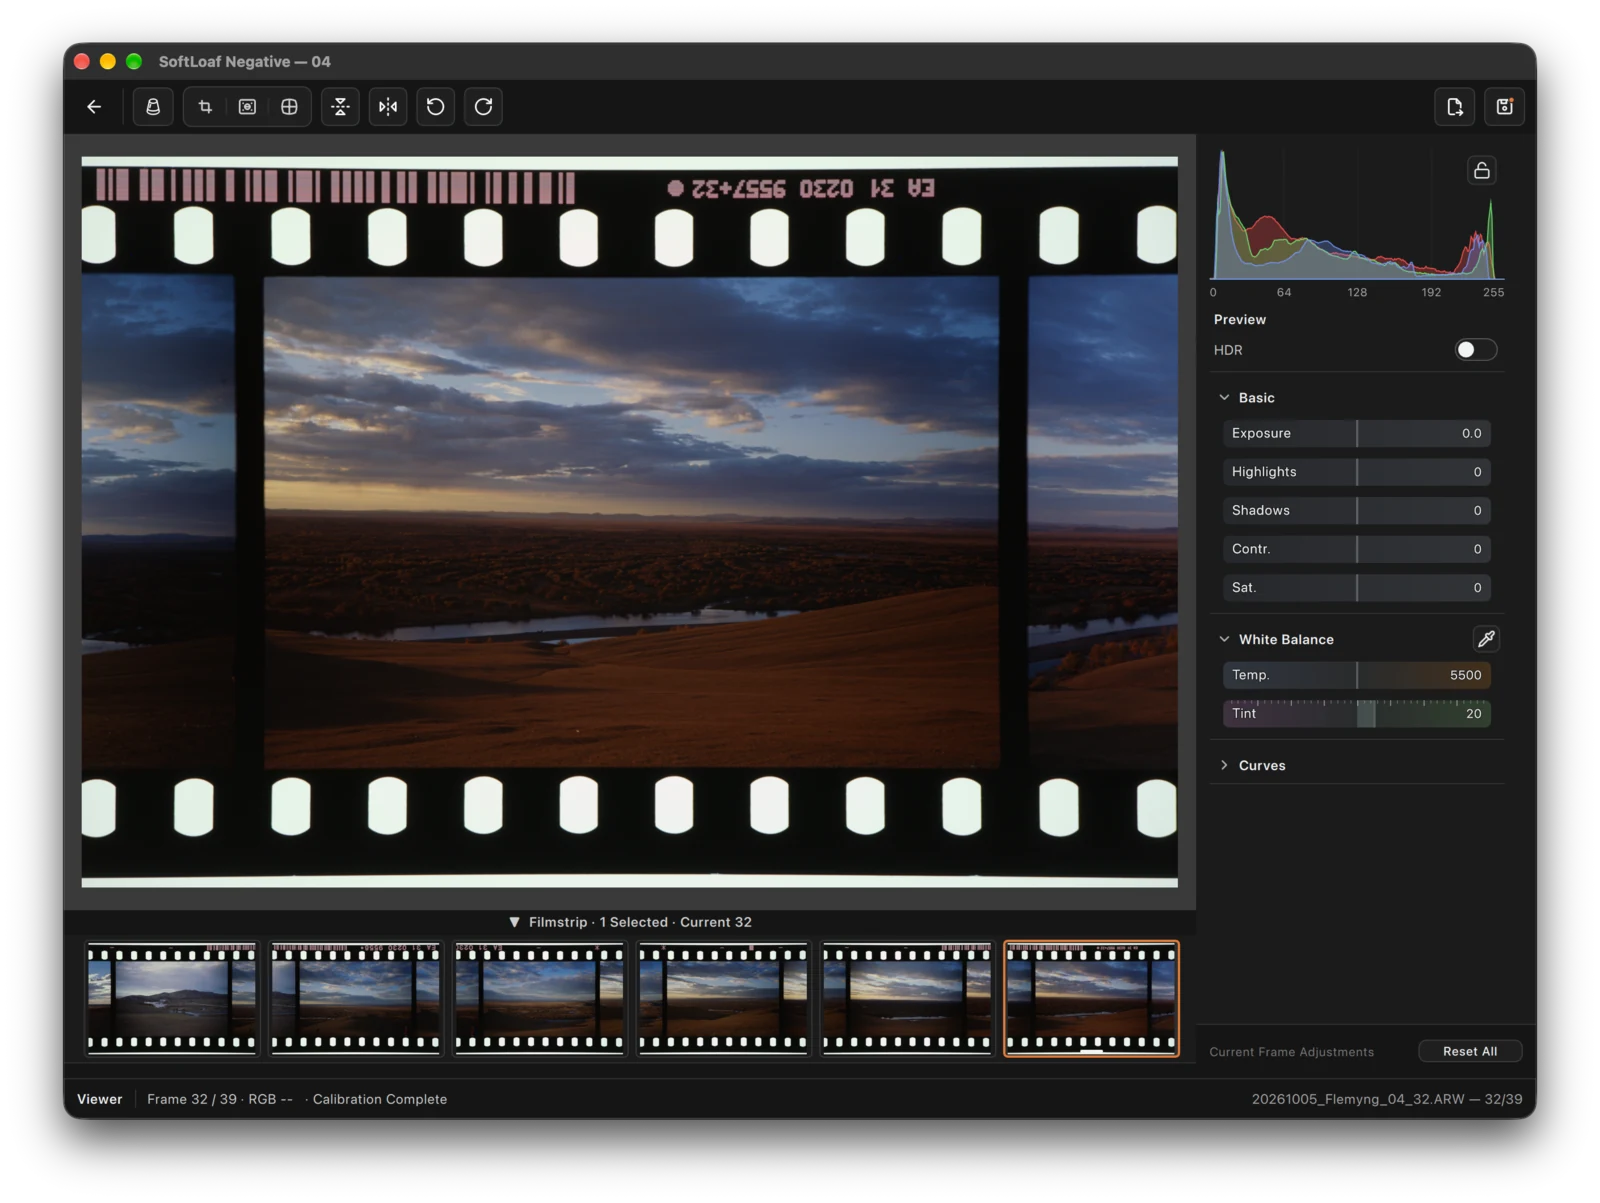
The reversal workspace with its Exposure, Highlights, and Shadows controls.
02
Correct uneven light,color, and distortion.
Combine flat-field correction, CCM color calibration, and lens geometry as needed to improve uneven illumination, capture color errors, and distortion before roll conversion.
Choose a correction to compare its before and after states.
Skin, snow, and sky in the same photograph before and after applying CCM.
Match references and profiles to the film type and capture setup. Flat field requires compatible RAW files. The guides explain what to prepare.
Create a CCM profile for your capture setup
Use the matching 24-patch transmission chart to build a profile for your setup, then reuse it across rolls under the same equipment, lighting, and input settings. This chart calibrates capture equipment; Color Chart conversion uses a chart photographed on the film.
Record red, green, and blue separately and combine them into a color photograph. Bayer color cameras and compatible monochrome cameras share a connected workflow for capture, assembly, color calibration, and film processing.
Trichrome is included in annual and lifetime access. The guide covers capture and calibration.
Watch Hot Folder in useHot Folder receiving new photographs · demonstration plays at 3× speedOpen video separately
Adjust brightness, color, and composition
Adjust density and color balance for color negatives, density and contrast for B&W negatives, or exposure for reversal film. Refine highlights, shadows, and curves, then crop and straighten the image.
Choose film looks or import custom .cube LUTs to give negative SDR images the tone and color you prefer. HDR export does not apply these looks or LUTs.
Refine brightness and contrast after converting a negative to get the tone you prefer. Film Curve has a different role from the Curve conversion method, which removes the color mask.
Tone changes in the same frame before and after Film Curve.
04
Ready to share.Ready for postproduction.
Choose the format, color space, and dimensions for everyday photos, HDR images, or professional intermediates.
Everyday viewing and editing
JPEG · PNG · TIFF
Share photographs or continue editing in other image software.
HDR photographs
UltraHDR JPEG · AVIF HDR · HEIC HDR
HEIC is macOS-only. HDR support differs between browsers and viewers.
Professional intermediates
ACES2065-1 EXR · ADX10 / ADX16 DPX
For postproduction workflows that support ACES or ADX.
Drag to compare SDR and HDR; viewing depends on display and browser supportThis device shows the SDR reference. HDR comparison needs a compatible display and browser.
01
See brighter highlights
View highlights brighter than SDR on compatible HDR displays, or switch back to check the SDR image.
02
Set HDR peak brightness
500 · 1000 · 2000 · 4000 nits
Set target peak brightness for preview and export to suit the receiving display and workflow.
03
Export HDR photographs
Save a photograph with HDR information. Viewing still requires devices and software that support the format.
A complete film workflow, starting with your first roll
Roll conversion, capture calibration, Trichrome, detailed adjustments, and multiple output formats in one desktop app. Photographs are processed locally.
Personal · $19.90 / year
All current features and updates, across macOS and Windows.